Handmade Valentine Cards with Pop Open Cards
This post is sponsored by Compendium, all opinions are my own.
Today we’re going to talk about (some of) this year’s Valentine’s Day cards. It always amazes me that I find the energy to do this right after the Christmas rush, but Valentine’s Day is one of those days that I really enjoying telling some of the ladies in my life how much they mean to me.
We’re going to take a look at the real process of making these cards today. Guess what? You can’t make 30 cards all during daylight hours on really pretty tables, it’s just impossible. Sometimes you need to do it while watching Girl Meets World in front of your computer on your far-too-tiny desk. So we’re taking a look at all of that today.
Also, I’ve been giving myself a hard time recently for making such repetitive cards. It’s so easy to make a rectangular card that has a piece of construction paper on the front with a smaller rectangle popping out from it stating the message (for example, this year’s Christmas cards). So this time I told myself I had to be more creative.
First, I chose the colors. I stuck to muted colors. Partially because they remind me more of Valentine’s Day and partially because I think Sarah needs all of my bright-colored card stock for The Blog Connect.

Then I started folding. You might not be able to tell from the photo below, but those cards are actually folded in thirds, not halves.

And then came the fun part. The cuts. Two diagonal cuts in the middle of my rectangle. That ought to spice it up.

I tried making a few of them and then chose one as a template and repeated making it two dozen times.

Sooner than later, I had finished all of the card bases.

Then I decided I wanted to use my scrap paper form the original cuts to add alternate colors to the cards. It looked a lot like this:


Then the sun went down. Girl Meets World went on. And then my life started to look like this. (Yes, those tissues were absolutely necessary. Did you people even watch the last two episodes of Girl Meets World.?)

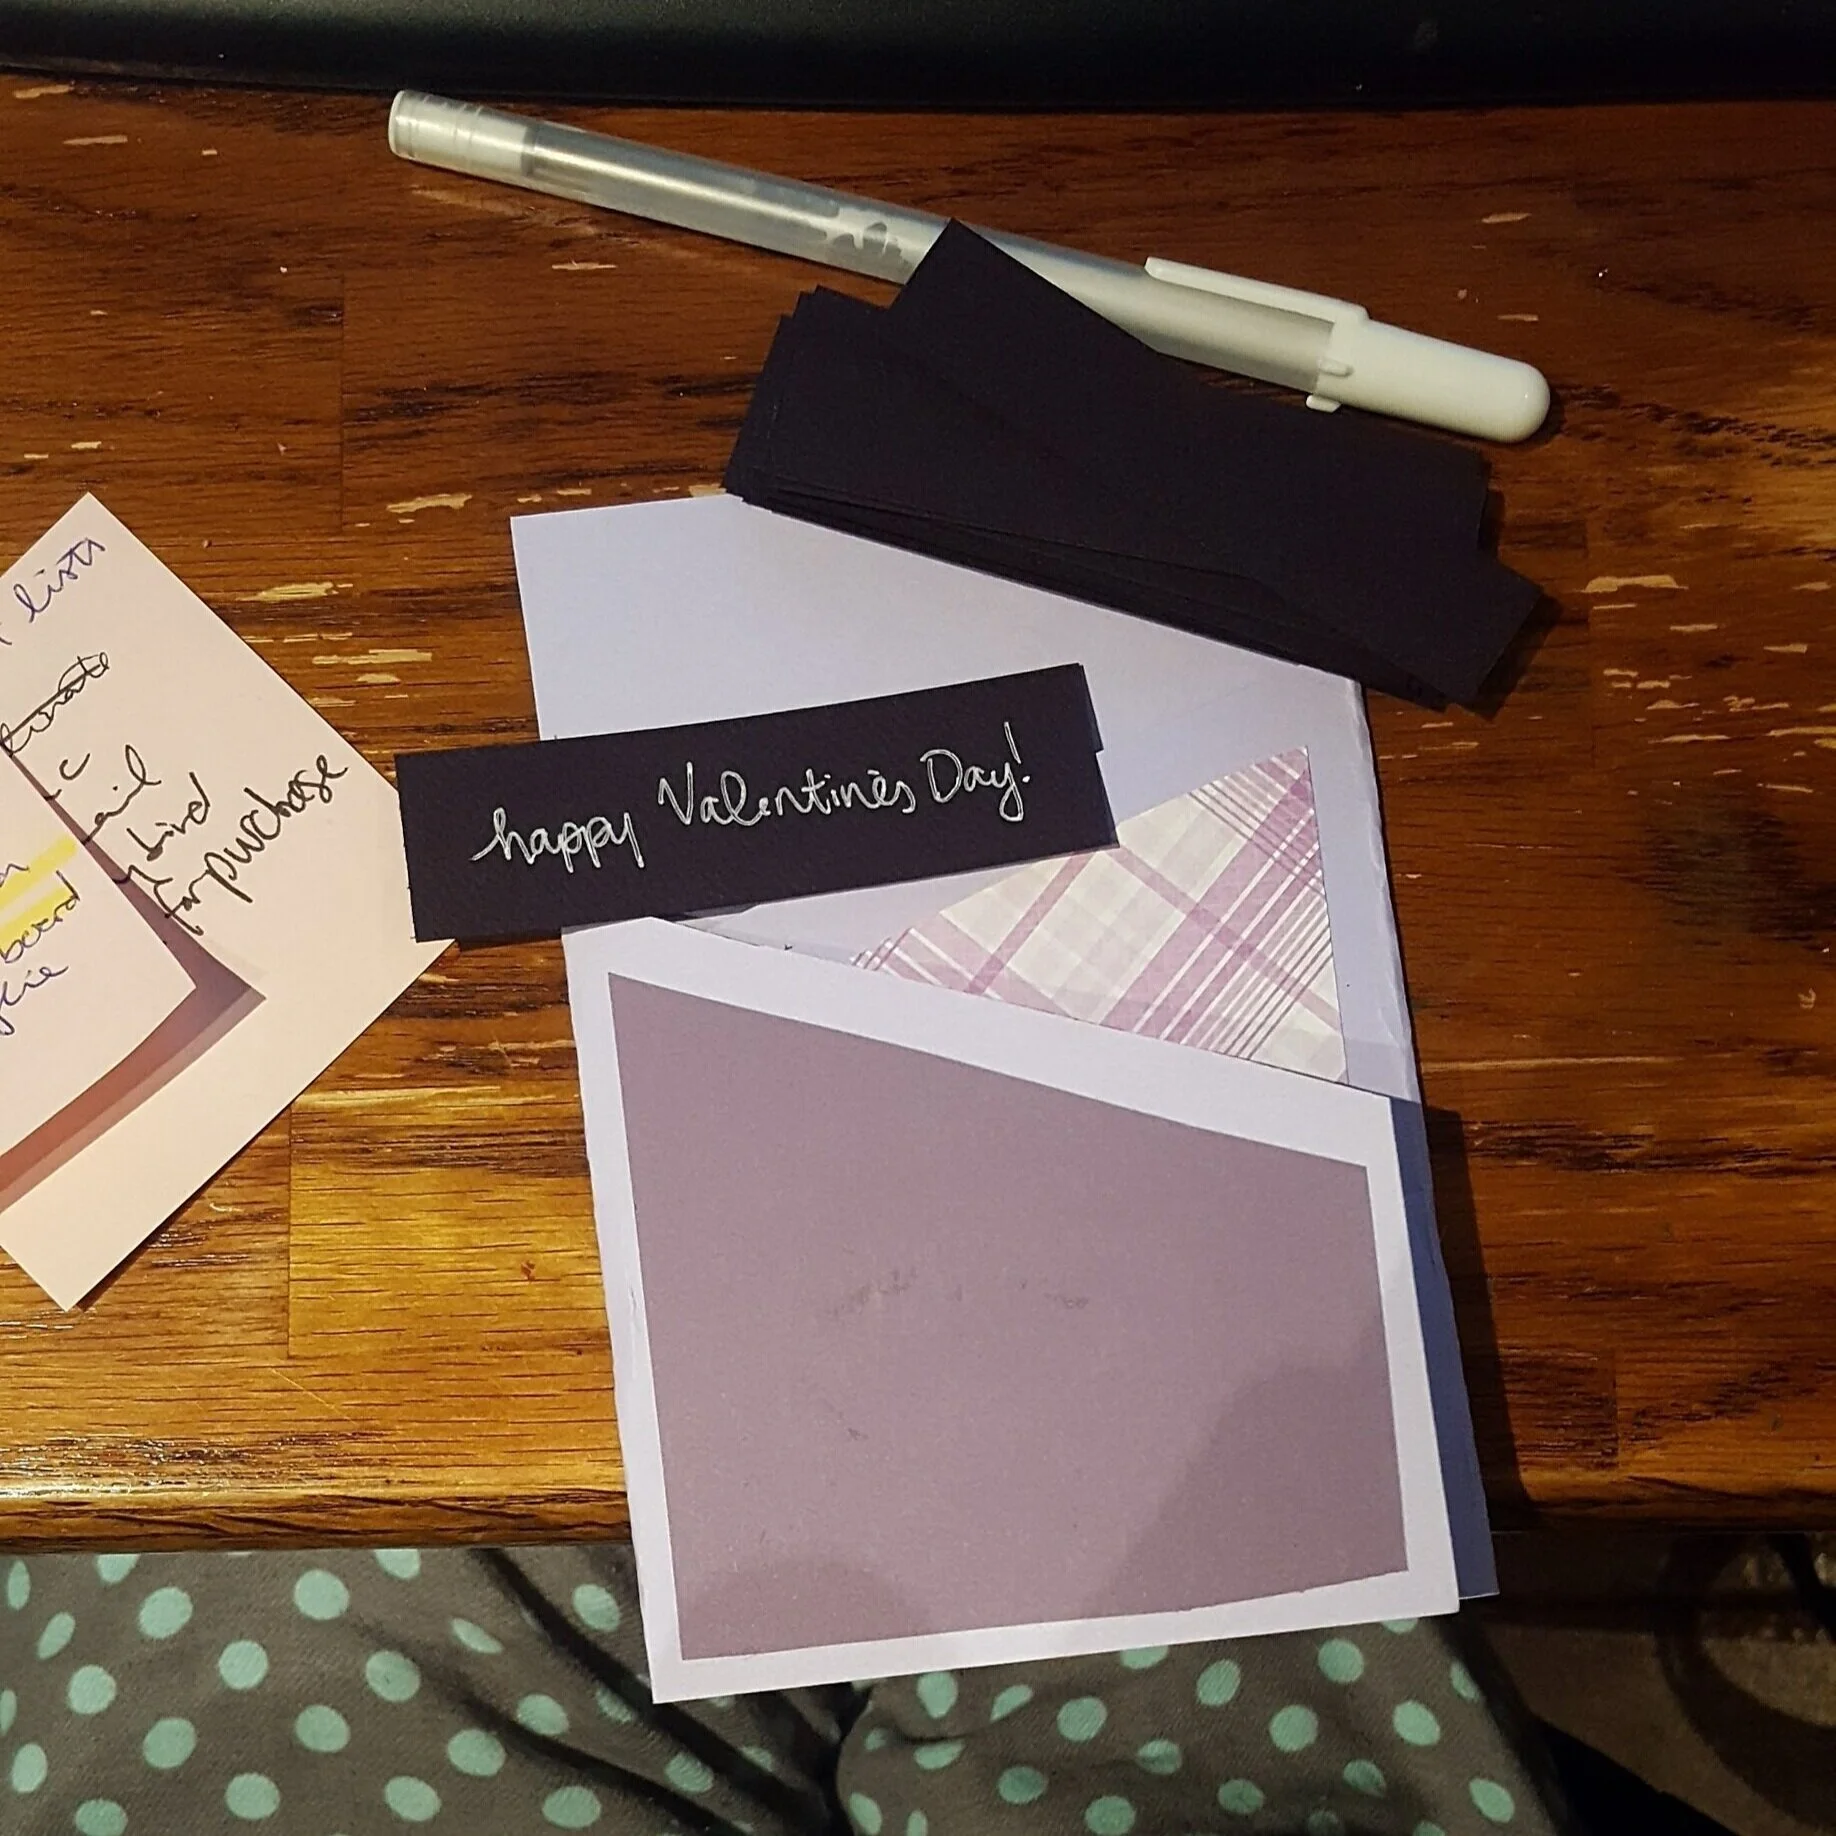
Once I finished the adding pops of color to the fronts of all the cards I had to figure out where to write Happy Valentine’s Day. Which was SO much harder than I thought it was going to be. First I thought it would be good to write it on a rectangle at the top of the card, but with so many diagonal lines my rectangle looked super awkward. (I probably should have tested this out before cutting thirty purple rectangles.)
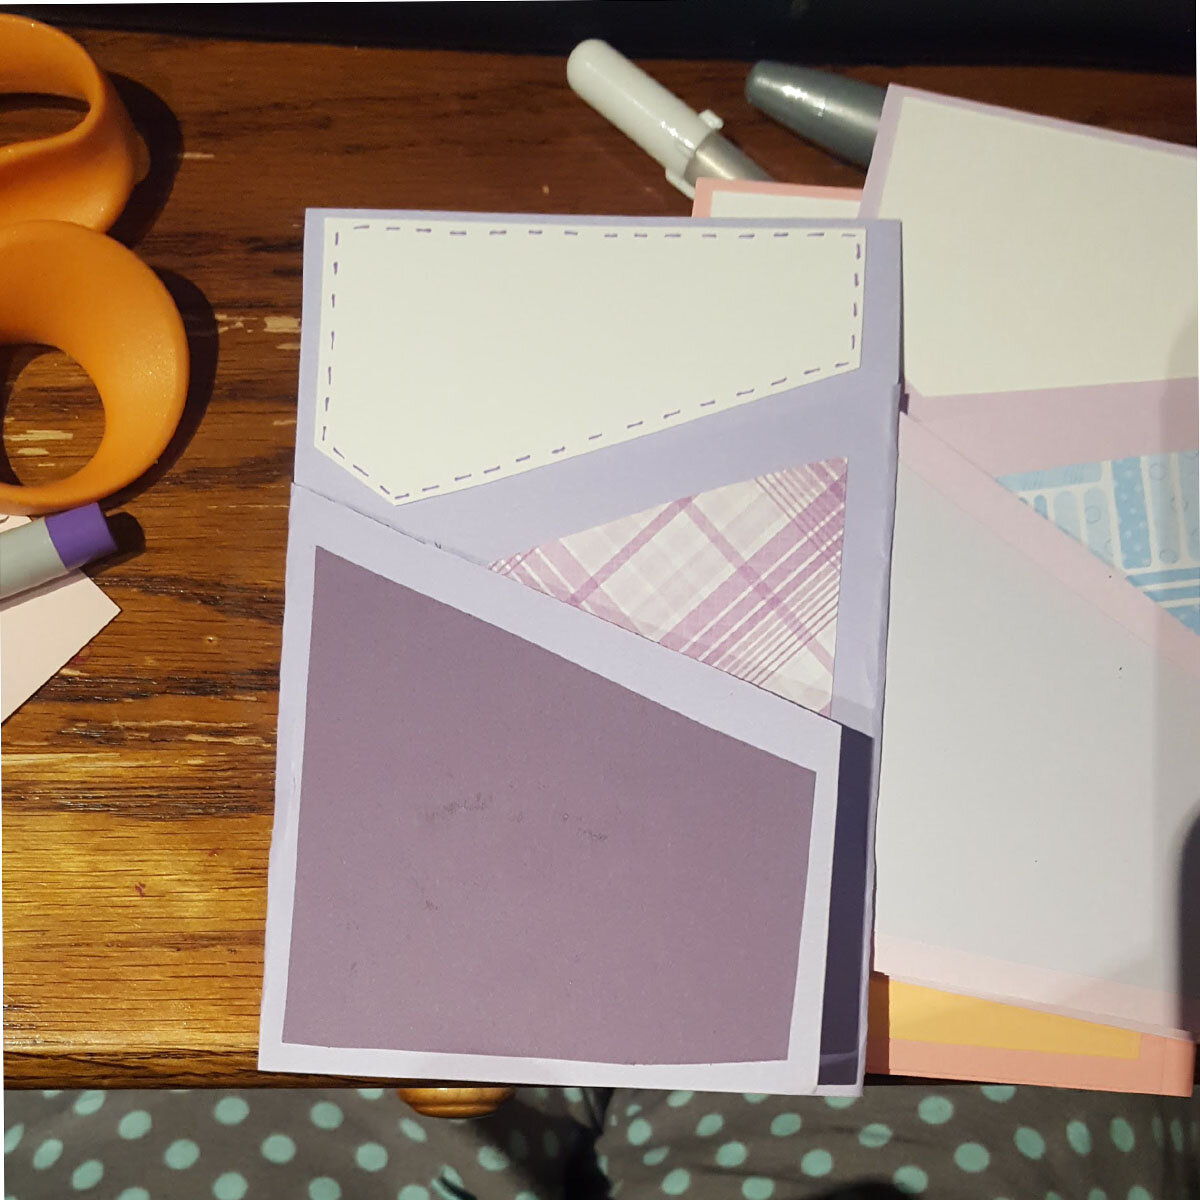
Then I tried writing Tory’s name at the top on a sheet of white paper to hold it over the top of the card to see if I liked something like that any better.

It looked better, but the shape was still wrong. Then I finally succumbed to the fact that I was going to need to cut a weird shape for the top piece as well. Just to you know, keep it asymmetrical. (I think I knew the answer the whole time, but I was trying to avoid it because I knew how much work it was going to be. Note to self: Don’t waste time, just do it in the first place.)


Then I added a Chrystina-usual: dotted dashes. I wrote everyone’s name on the top of the card, signed my name on the back, addressed all of the envelopes, and stamped all of the envelopes so that the next time I jumped into this project all I would have to do was write in the cards.

Also. Sometimes you send cards overseas and get to use a whole bunch of the stamps you have laying around. Which is always really fun.
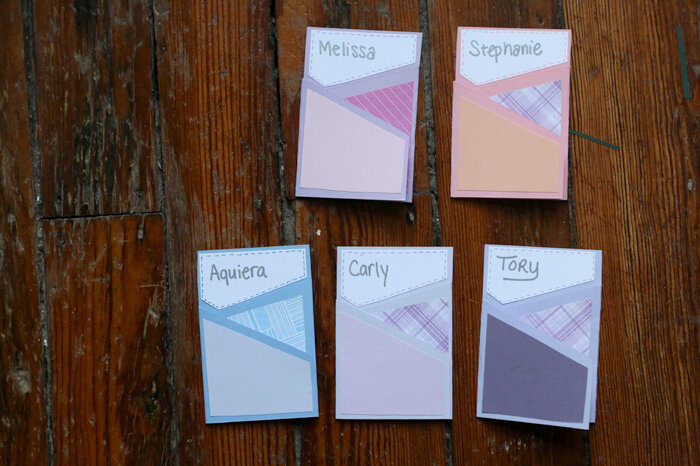
Here’s a look at what the final product looked like (I waited for sunshine to take these photos.)


So. If you’ve made it this far, thanks for being here. If you’ve read my Valentine’s Day posts before you know that I love to try to come up with other things besides cards to send to people. For example, two years ago I put teabags all of my cards. (Last year I sent socks, which was slightly more expensive than I had anticipated. Oops.)
Also around a year-and-a-half ago I received a card from a friend that had this little bite-sized pop-open card in it. And I loved it. I loved it so much that I added it to my display/work shelves so I could look at it all the time.

What, you can’t find it in that hot mess? (Ha.) Let me help you out:

There it is, right there! The rainbow-polka dot colored thing. It’s an adorable little card that you pop open (get it?) and there’s a happy little message. For example:

They’re sold by Compendium, a company whose motto is “live inspired,” and they sell so many adorable paper goods: notebooks, greeting cards, stationery, and more. (My kind of place, huh?) And the boxes that they’re sold in are also adorable.


So I’m going to be putting pop open cards in each person’s Valentine so they get a tiny little package that looks like this:

I’m super excited about it and I hope my friends enjoy the little moments of inspirations as much as I did. So excited about this year’s cards, now I just need to finish writing in them.
Do you send Valentine’s Day cards? What was your process like? Also, no shame in buying boxed Valentines (especially Disney ones) or Fun Dip Valentines (because Fun Dip). I’m also really excited to give out the rest of my Minted Classroom Valentines day cards from last year at the office this year. There is construction equipment on it. Can you say networking at it’s best? So good. So excited. Remember to have fun with it!
(Also. Shhhhhh. No, Ben’s card definitely is no where near done yet. I’ve got 5 whole days left… plenty of time to think of something.)