
Aunt Lisa’s Artichoke Recipe: Simmered in Chicken Broth with Garlic & Parsley
At our (second to) last #wepretendtobecooks dinner, I decided to get ambitious and make artichokes for the first time.
These dinners started out pretty simple, but every time one of us cooks it seems as if the bar is raised. This was the first time I really went above and beyond my comfort zone to cook something I didn’t know how to make.
On top of that, I had to ask Aunt Lisa for the recipe. I don’t know about y’all, but in this lovely Italian family of mine it’s definitely a lot of recipes that nobody has ever written down. So I needed to find Aunt Lisa and start asking questions. Here was the instruction:
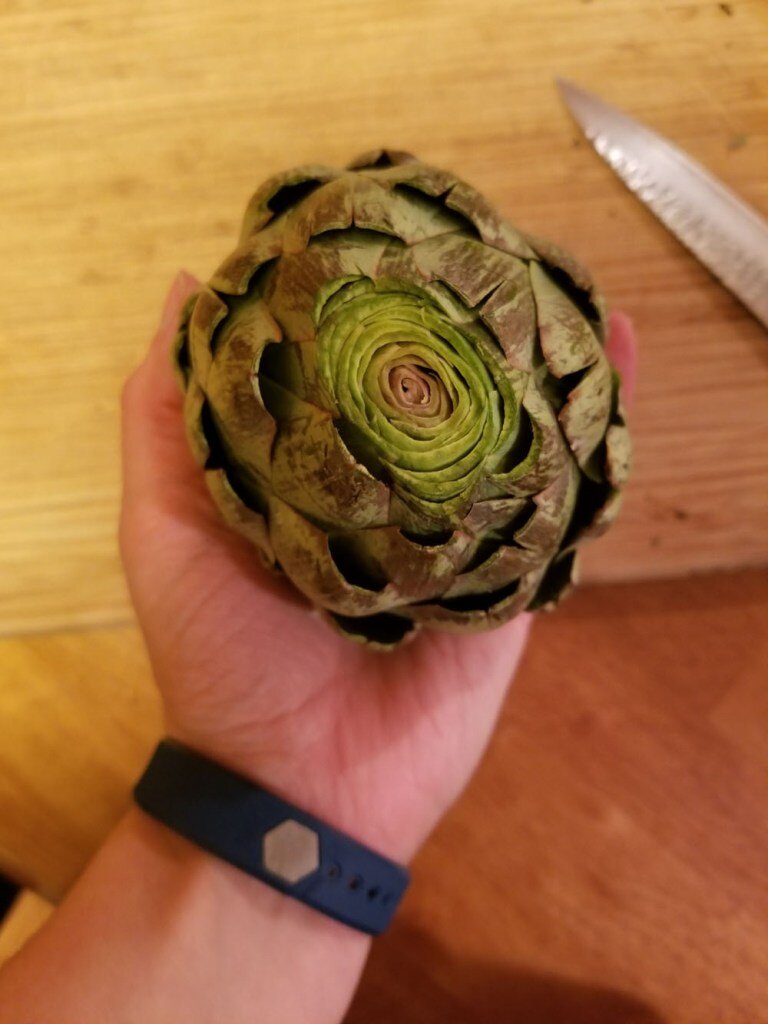
1: Buy the artichokes. You know you’ve found a good one because it will be heavy and round. (Or you’re like me and go to a place where they literally only have 6 artichokes, so you just buy them all.) The goal is to buy as many as will fit squished together in your pot. My 4-quart pot would have best fit 6.
2: Cut the stem to a reasonable length. She didn’t tell me this one, I just went for it. I like consistency. I left about 1.5 inches.
3: Cut off the top of each Christmas tree, 1″ down. I was a little skimpy on this. You can cut it even further than I did as you’re not cutting off a part that you’re actually going to eat (which I only figured out later).


4: Cut off the pointy tips of each leaf so nobody hurts themselves while they’re eating (and you don’t hurt yourself while you’re preparing).
5: Take the little leaves off around the bottom. You’re not going to end up eating those anyway. Plus if your artichokes start floating in the pot (like mine did) they won’t be submerged in broth anyway.
6: Rinse off the artichokes. Nobody told me to do this either, it just seemed weird not to do.

7: This was my favorite part. “Ram the cut off side into the corner of a counter.” These are the things that you only find in recipes that are passed down. Essentially, the goal is to open up each leaf a little bit so that you can stuff it. Do what you’ve got to do to get that done.
8: Peel “a ton” of garlic and cut it into quarters (in a way that closest resembles “slicing” so you can slide it between the leaves). A ton was never defined for me. I learned after the fact that I literally used TEN TIMES the amount of garlic that she was suggesting. (Oops?) I was just trying to follow instructions. Her general rule of thumb is 3 cloves per artichoke, plus a little extra to put directly in the pot.
9: Clean 2 bunches of parsley. Chop it. (Realizing that I forgot the chop part.)
10: In each artichoke:
a: Sprinkle salt and pepper to taste between the leaves
b: Stuff your 12 quartered cloves of garlic into each artichoke (think of it as hiding it behind a leaf)
c: Stuff (almost all of) your parsley into the leaves, this helps to hold the salt, pepper, and garlic in place. You’ll be shoving them into the pot so tightly that you don’t really need to worry about it falling out, the artichoke is going to want to close. (It apparently doesn’t like that ram into the counter thing.)
11: Add half an inch of oil (I used olive) to the pan, and a few cloves of quartered garlic. Heat it until the garlic is fragrant. (I made up that last part, but it sounded right.)


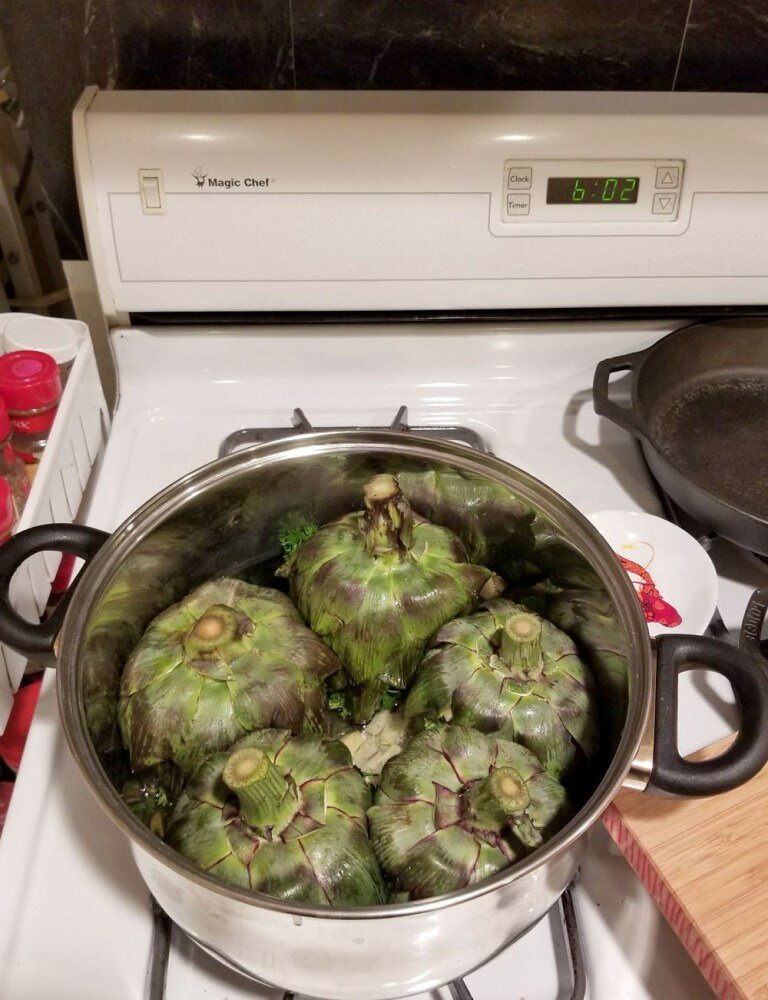
12: Jam the artichokes into the pot upside-down. (That’s right, that side that the Christmas tree point would have been on goes down.) Fit them in tight because they’re going to shrink as they cook. And then they’ll float. Which is apparently fine, but it was kind of annoying.
At this point we had determined that one of them was was bad, so we were down to 5 from 6. (We determined it was bad because when we started pulling the leaves back we noticed most of the inside of the artichoke was brown.) 6 would have been better and stopped the floating though.
13: Saute the artichokes in garlic and oil “just enough” so they don’t burn. The best guess was on medium-high for 5 minutes. This estimate worked out okay.
14: Add chicken broth to the pot and fill it enough to cover the top of each artichoke base. You don’t need to worry about covering the stem. In case you were wondering, yes, you do pour it directly into the oil. I added 2 quarts of chicken broth and then used water to fill it up to the top because it didn’t seem worth it to open another whole quart.
15: Add more parsley to the pot (because why not).
16: Bring the pot to almost a boil. Then cover it and cook for about an hour. I forgot to bring the pot to an almost boil before starting my timer, so it actually took 2 hours because it never got hot enough to actually cook. Oops. No harm, no foul, just had to eat later.


17: Test the leaves to see if they taste good and have the correct texture. When they taste good, they’re done. What does that mean exactly? Well, each leaf looks like this:
The way you eat it is to use your teeth and scrape the “meat” out of the leaf. The meat can be found on the outside edge of the leaf (which is the top part in this particular photo). The leaf shouldn’t feel tough. They should pretty much fall out of the center of the artichoke when you pull them out. It’ll essentially be mushy in a good way? If anybody has any better explanation of this, I’d love to replace this paragraph. Just let me know in the comments below.
I recommend having some bread around to dunk in the olive oil chicken broth garlic parsley goodness while you’re eating. This also makes it more of a meal as there’s definitely not enough meat in the artichoke to fill you up. (At least not in one artichoke.)

Now of course. There was the warning that came with the artichokes that was “make sure you don’t eat the prickly part of the artichoke.” How the heck was I supposed to know which was the prickly part? (I found out that this is called the choke.) So here’s essentially what happens:
After you pull off all the green leaves and eat them you get down to a part that looks like that yellow and purple part on the left there. We found that those pieces didn’t have much meat in them, so we just kept pulling them off. Once you clean off all of those, you get to something that looks like that middle photo. That’s called the choke. Then you literally just remove the prickly part until you get down to that flat surface (in the right-most photo). That smooth part is the heart. It’s the best part of the artichoke. Make sure not to leave it behind. No pun intended.
And of course, me being me, I didn’t get a photo of a final artichoke that day, so I took a photo of the reheated one I had the next day in front of my computer.
I stored mine in a container with some of the chicken broth and then just put this bowl in the microwave and heated it up for 90 seconds. It was delicious.
And that’s the story of how to make chicken brother simmered artichokes with garlic and parsley. I know there’s a million ways to cook artichokes (I think most people associate them with breadcrumbs?), but this is the way I grew up with, so I’m just glad to have the recipe finally written down.
Ingredients
6 artichokes
22 gloves garlic
2 bunches parsley
salt
pepper
olive oil
2 qt. chicken broth
water
Instructions
Prepare the artichokes by cutting the stem to a reasonable length, cutting off the top of each (1-1.5 inches), cutting off the pointy tips of each leaf, and taking the little leaves off around the base
Rinse the artichokes
Open up the leaves on each artichoke to be able to stuff salt, garlic, and parsley inside
Peel garlic and slice each clove into quarters
In each artichoke, sprinkle salt and pepper, stuff 12 quartered cloves of garlic and (almost all of the) parsley
Add half half an inch of oil to the 4-quart pot
Heat until garlic is fragrant
Insert the artichokes into the pot upside down, they will need to be squished in
Saute the artichokes for 5 minutes on medium-high heat making sure not to burn them
Add chicken broth to the pot and cover the artichokes up to the base (add water as necessary)
Add extra parsley to the pot
Bring the pot to almost a boil, cover it, and simmer for an hour
Test the leaves to determine when they are done
Enjoy!
Let me know if you try making them, I’d love to know what you think. Or even if you have a different recipe that you love, I’d love to see that too.
Oh. And the final determination on this? This definitely would not be worth th effort for me for any less than 6 artichokes. That said, that’s probably only because I peeled ten times the amount of garlic that I needed, which was the longest part of this process.